ft818:aio_box:v2_assembly
This is an old revision of the document!
Table of Contents
V2 AIO Box Assembly page
Introduction
So, you've just received your kit. Please read this page to assemble properly your kit.
You may notice some small differences beetween the pictures and your own kit but it's mostly the same for the build.
If you have some questions, feel free to ask : mailto:adrien.grelet@gmail.com.
Step 1 : Clean the parts
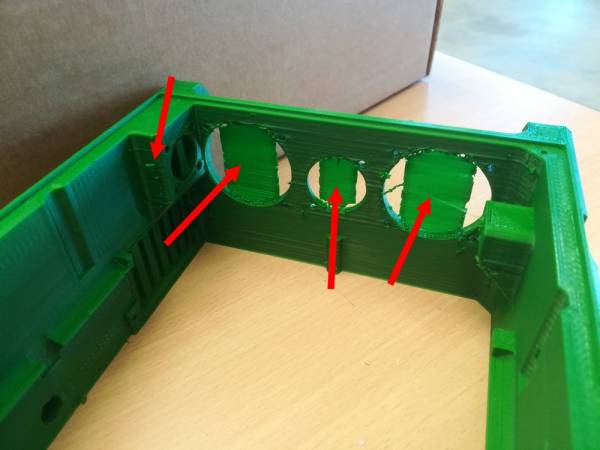
The printed parts come with some supports you'll have to remove with a plier and cut the extra material with a well sharpened knife.
Also, on the CNC parts, even I've checked them, you can have some burrs you can easily remove by filing the edges.
Step 2 : Install M5 nuts for the accessories port
Step 3 : Mount the heatsink and the base plate
Step 4 : Install the DC fans and RJ45 socket
Step 5 : Install SO-239 socket and ground banana connector
Step 6 : Wiring
Step 7 : Modify your radio for internal battery switch
ft818/aio_box/v2_assembly.1599058654.txt.gz · Last modified: 2020/09/02 16:57 by f4ija


